Shooting in Low Light
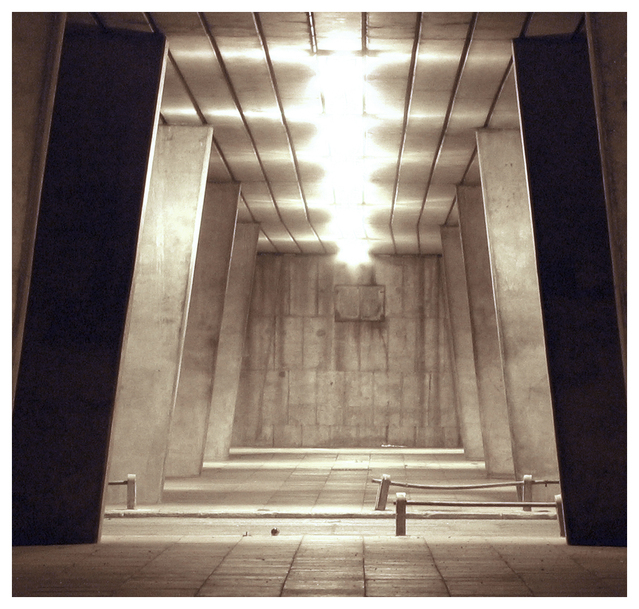
Light is typically dim in museums as this is more visually pleasing, and lots of museum pieces can deteriorate over time when exposed to bright light and camera flash. Therefore, you have to set your cam accordingly. Push the ISO up to a minimum of 400. If flash isn't really permitted then use the largest aperture possible so you can hand hold the electronic camera and utilize a fairly fast shutter speed. When photographing the real displays on object support, tripods may not be enabled as they can obstruct other people's ability to see the work. Prevent Glass Reflections Lots of exhibitions are held behind glass, particularly artifacts, and valuable paintings. There are different things you can do to prevent reflections. Never use flash. For display cases, press the lens directly onto the glass without any space, if this is allowed. This way you are bypassing any type of reflective quality from the glass-- however DO give it a wipe to remove fingerprints in advance. If you can utilize a polarizing filter; it will reduce reflections. You might need to press the ISO up since numerous artifacts remain in very low light conditions; ISO 1600 is more than adequate. Pay Attention to Details Don't hesitate to move close approximately challenge get a dramatic impact. If you can get near the item then you can utilize a macro lens to select the details. If you are far, utilize a zoom lens to obtain in close. Utilize a huge aperture of f/1.8 - f/4.0 and a shutter speed of 1/100th of a second if you are using flash, 1/60th of a 2nd and slower if you cannot. Statues are inanimate however you can bring them to life when you focus near to their facial features. Catching the Ceiling Some museums have architecture that is as extraordinary as the art work being displayed on plinths. Because this elaborate architecture is typically in the foyer you may be enabled to use a tripod. Turn the electronic camera upwards so it is dealing with the ceiling and attempt not utilizing flash. Push the ISO as much as 400 or even higher so that the camera can handle little light and pick AUTO without flash to see exactly what settings your cam chooses. Use your video camera's self-timer or a cable television release to prevent blur.
0 Comments
Leave a Reply. |
